

The toolbar at the top of the Tag Editor window provides quick access to the most frequently used controls. To customize the toolbar to suit your work style, you can add, remove, resize, and rearrange toolbar buttons.
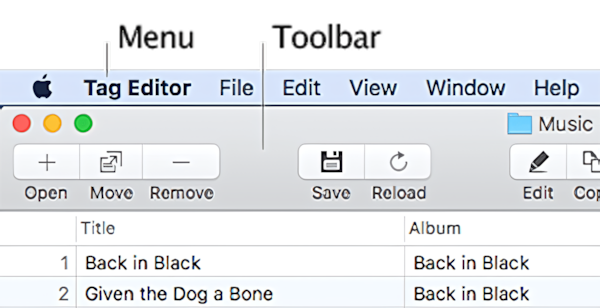
Menu and toolbar in Tag Editor for Mac
Hide / Show toolbar
Choose View > Hide Toolbar or View > Show Toolbar in the Tag Editor menu at the top of your screen.
Customize toolbar contents
1. To open the toolbar customization panel, right-click on the toolbar and choose Customize Toolbar in the pop-up menu. You can also select View > Customize Toolbar in the application menu.
2. Undertake any of the following actions:
- To remove items, such as buttons or spaces, from the toolbar, just drag them away. Please note that joined buttons, such as Save and Reload, can not be separated and moved together.
- To add an item, drag it to the toolbar.
- To rearrange buttons or spaces between them, drag an item to the left or right of another item.
- To restore the original set of buttons, drag the default set from the bottom of the window into the toolbar.
3. Click 'Done".
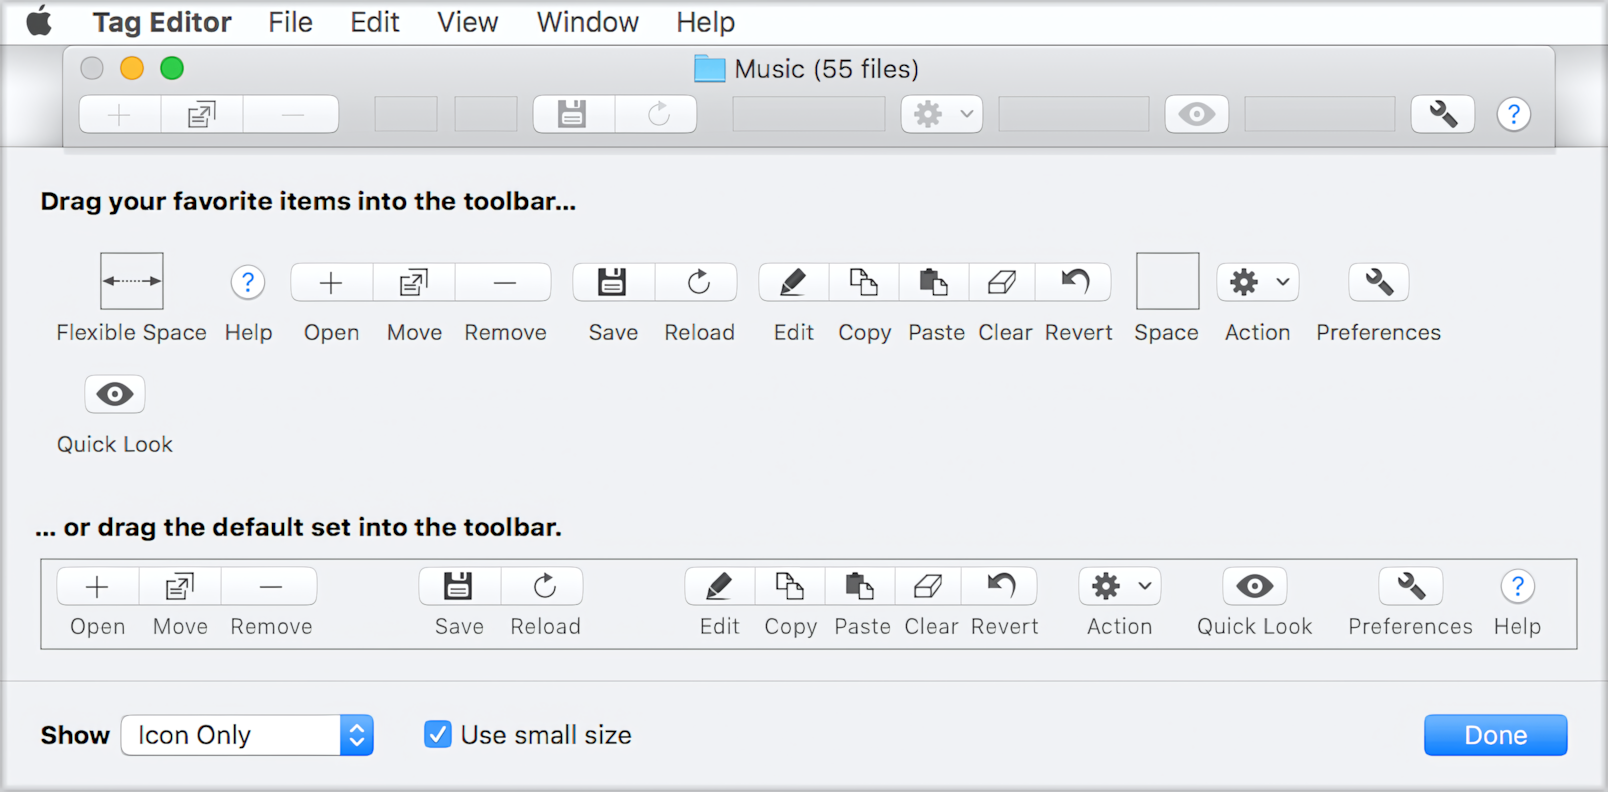
Toolbar customization in Tag Editor for Mac
Customize toolbar appearance
Choose View > Customize Toolbar in the Tag Editor menu to open the toolbar customization panel.
To change toolbar appearance, choose either Icon and Text, Icon Only, or Text Only from the Show menu at the bottom of the Customize Toolbar window.
To reduce or enlarge the button size, tick or untick the 'Use small size' checkbox.