- Installation
- Checking Preferences
- Checking Destination Folder
- Starting Conversion
- Conversion Process
- Opening converted files in Finder
- Exporting converted files to iTunes
- Opening converted files in Tag Editor
Installation
Download the free converter related to this article and open the installation package, which is a file with a DMG or PKG extension.
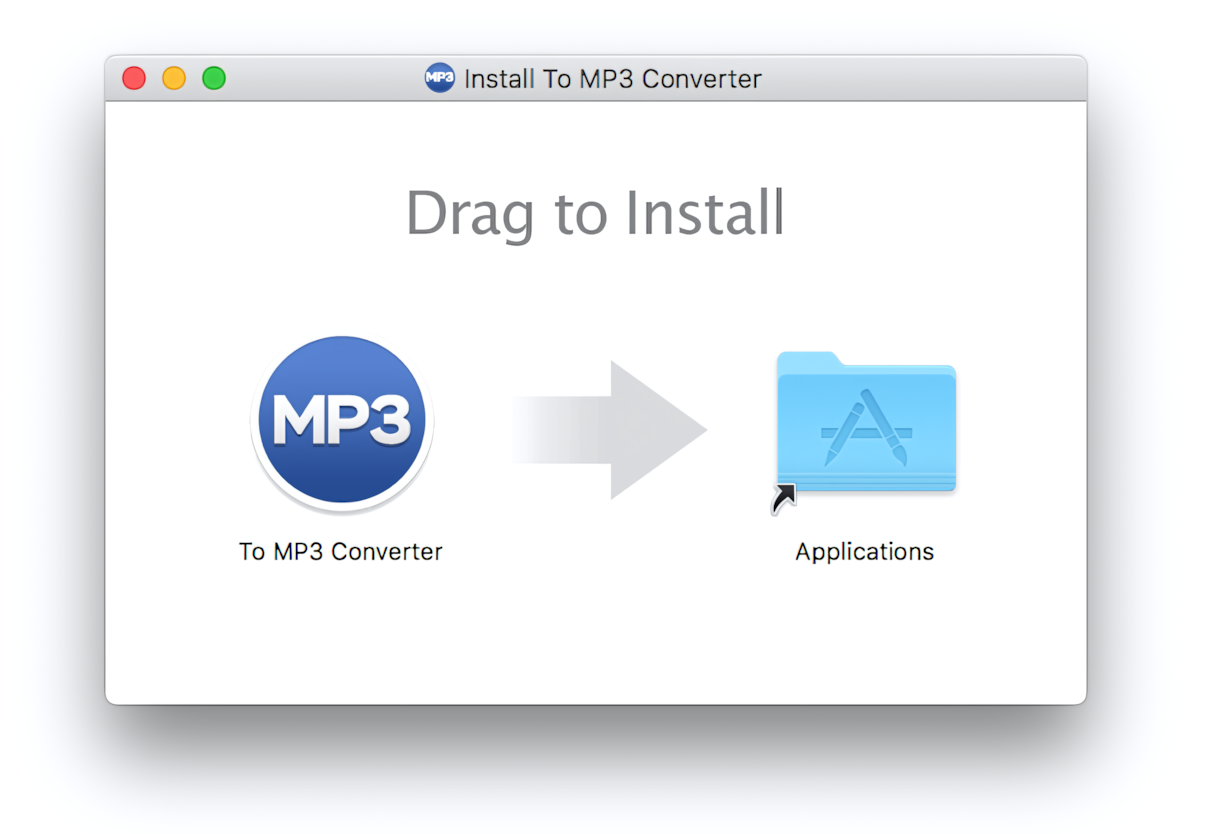
Installation Package for To MP3 Converter
Drag the application icon into the Applications folder to install it on your Mac computer.
First application start
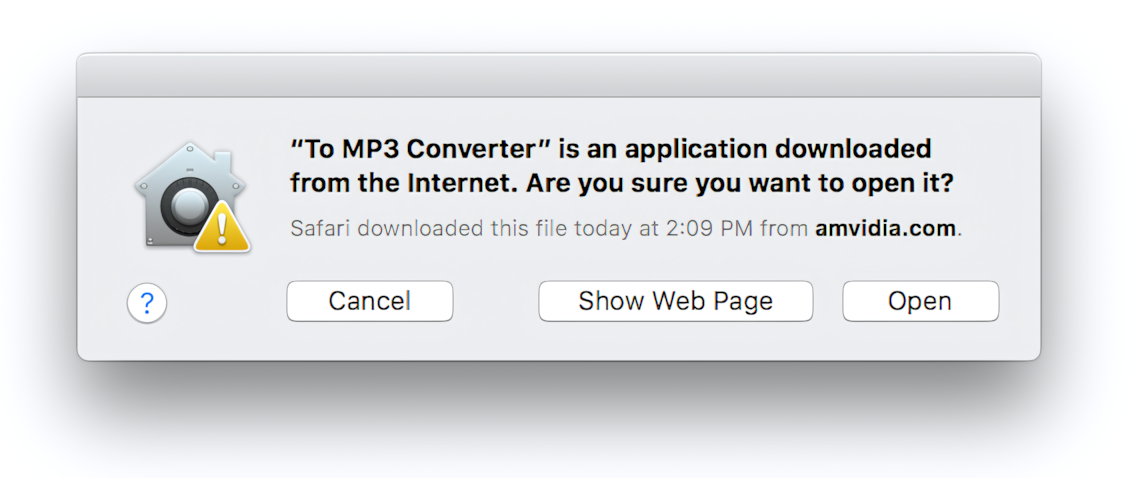
Open the installed converter. At the first application start, the system may display a message like the one below. Such a message is displayed only once for newly installed applications. Press the "Open" button to launch the Converter.
Checking Preferences
At the first application start, the Preferences window will be opened with the selected 'Format' tab.
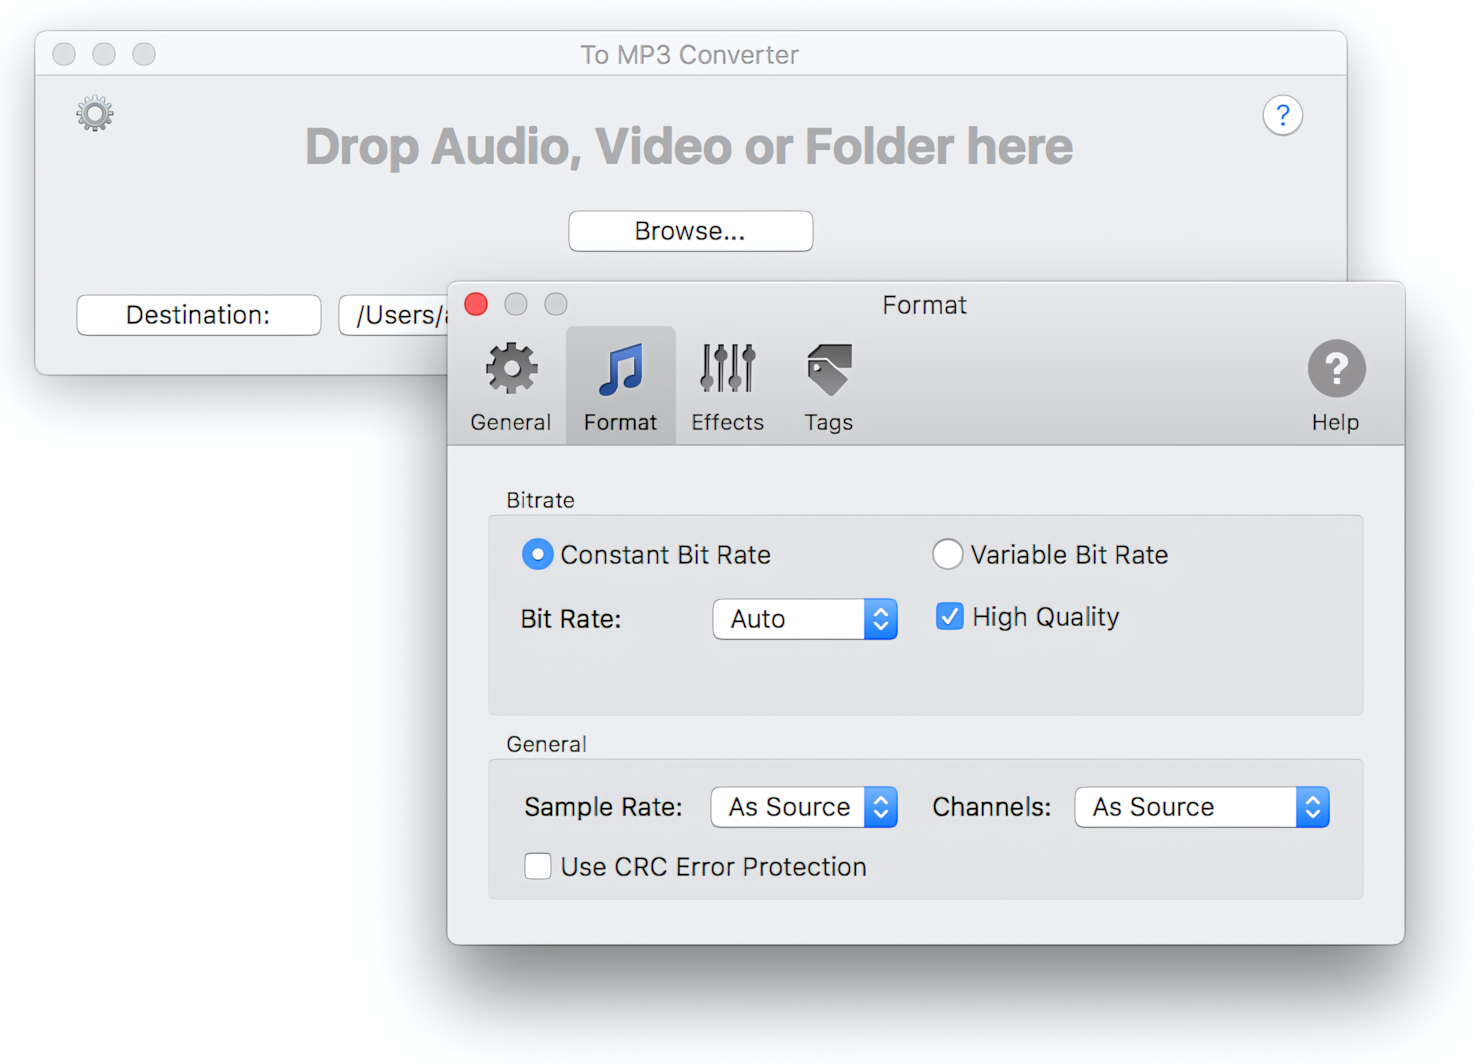
To MP3 Converter - Preferences
If you don't have any specific requirements on Bit Rate, Sample Rate, Channels, or Codec, you might want to leave the default settings as is. Let the application automatically select the appropriate settings for every source file you are trying to convert.
You might also check General, Effects, or Tags Preferences and set up the conversion according to your needs.
For example, suppose you are converting your music collection. In that case, you may want to set up Loudness Normalization, which equalizes the volumes of audio tracks, so you won't need to adjust the volume from song to song when listening.
Another example is the conversion of speech records. You may want to enable Automatic Volume Control with Peak Normalization to enhance the quality of speech recordings, podcasts, or voice memos.
One more example is the need to toggle the CUE Splitter, which is enabled by default.
Read More: Preferences / General >>
Read More: Audio Effects and Volume Adjusting on macOS >>
Read More: Automatic Volume Control >>
Read More: Peak and Loudness (EBU R128) Normalization on Mac >>
Read More: Trimming Silence and Noise Automatically >>
Read More: Fade-In & Fade-Out Audio Effects >>
Read More: Preferences / Tags >>
Checking Destination Folder
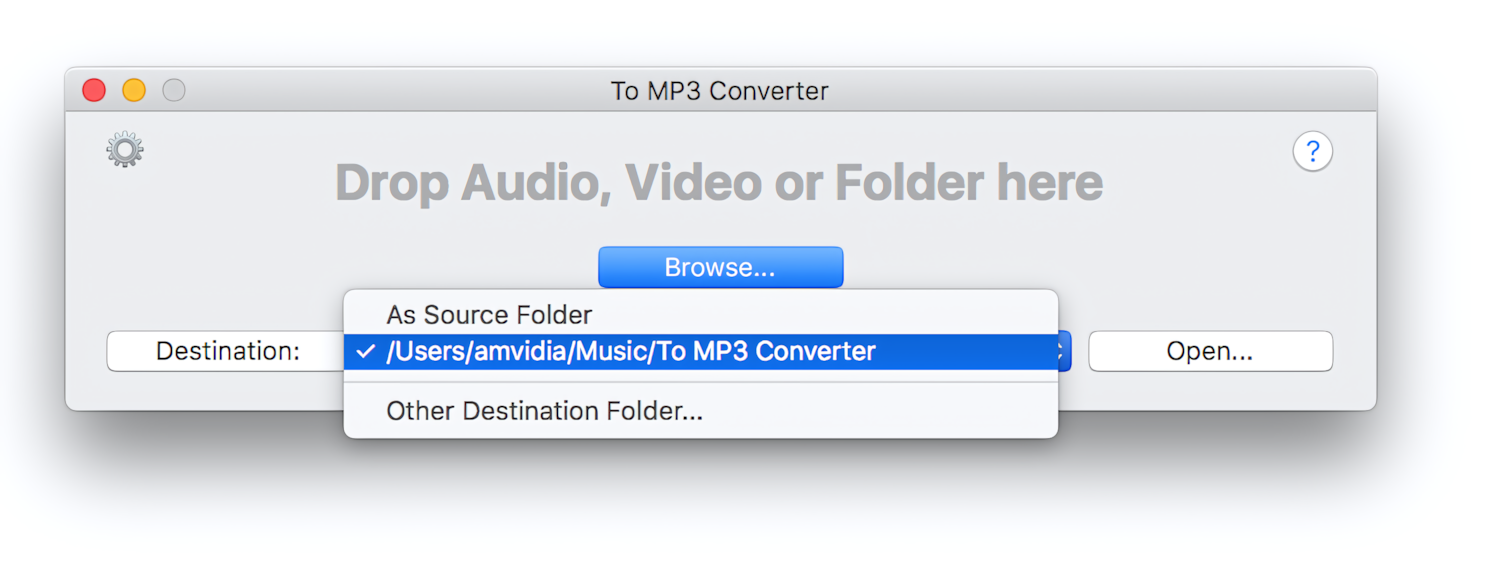
Another critical point is where your converted files should be stored. Click on the destination folder to select an alternative folder if the default folder is not suitable.
You may also select 'As Source Folder,' which is useful when converting individual files. When 'As Source Folder' is selected, converted files will be placed in the same directory as the source files.
Starting Conversion
The conversion can be started in several ways:
- Drop audio/video files in the application’s icon, regardless of whether the application was started or not.
- Drop audio or video files in the main application window.
- Drop audio or video files in the progress window.
- Press the 'Browse' button in the main application window and select files or folders to convert.
You can add a single file, multiple files, or a branch of folders for conversion. By default, the converter will replicate the structure of the source directories in the destination folder.
You can also start as many simultaneous sessions as you want. Don't wait when the previous conversion is finished. Drop as many files and folders in the converter as you need and when you need them.
Conversion Process
After the conversion session begins, the app displays a progress window that shows the estimated remaining conversion time and provides detailed information about the conversion progress, even when processing thousands of files. The progress window provides the detailed status of conversion for every file.
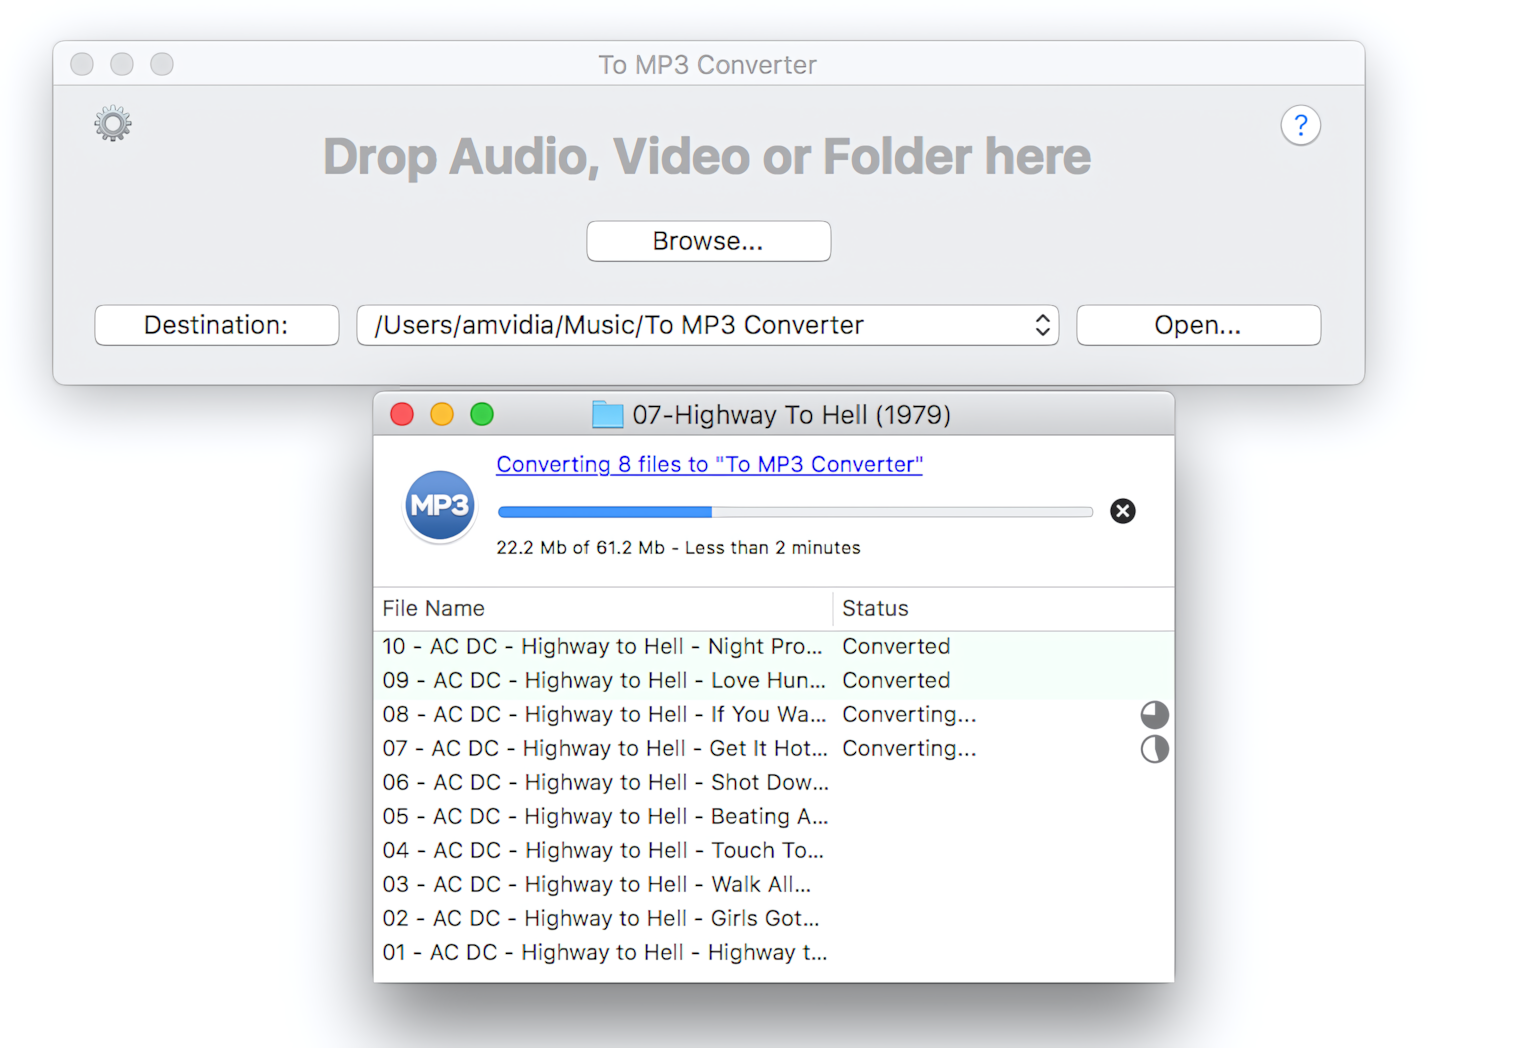
To MP3 Converter Main Window and Progress Window
By default, the converter performs tasks during conversion:
- Analyzes the Bit Rate, Sample Rate, and Channels of source files and applies optimal values specific to every output file
- Applies Peak Normalization with 0 dBFS to adjust the volume of tracks
- Accepts CUE sheets and splits related FLAC or WAV files
- Transfers tags from source to destination files
- Replicates the structure of source folders in the destination folder
Each task can be configured in the Preferences window.
Opening converted files in Finder
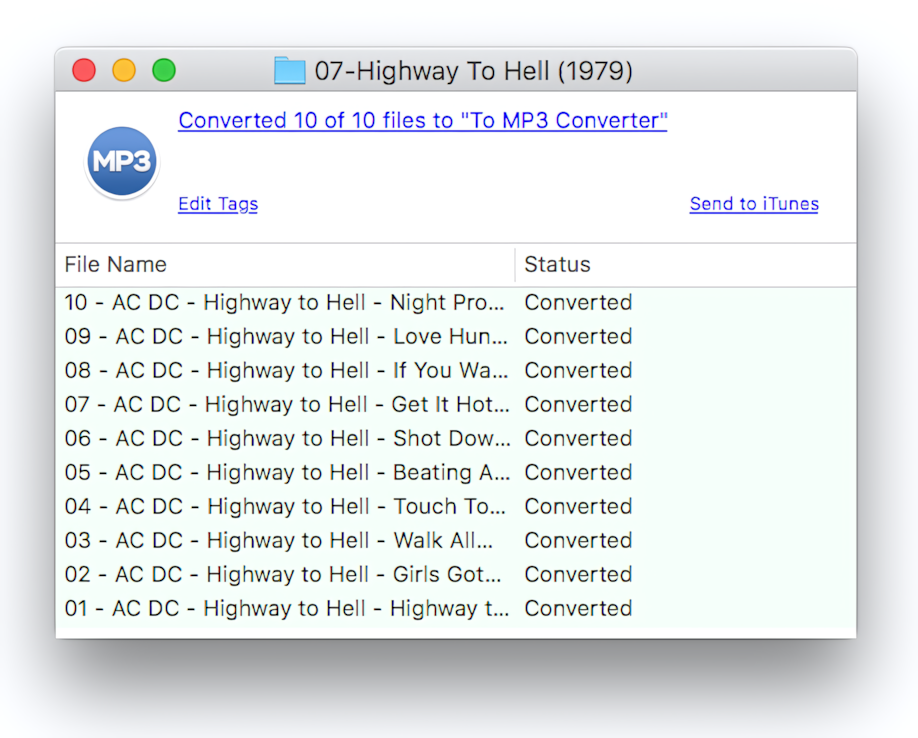
After conversion, the converter will show the number of files that were successfully converted. You can find converted files in the folder that is set as the “Destination folder” in the main window.
To access them quickly in Finder, click on the top link in the progress window. This task can be automated, and the converted files can be automatically opened in Finder. To achieve this, enable the option "Show Converted Files in Finder" in the Preferences / General window.
Alternatively, you can open source and destination files separately by clicking links with a green background in the list.
Exporting converted files to iTunes
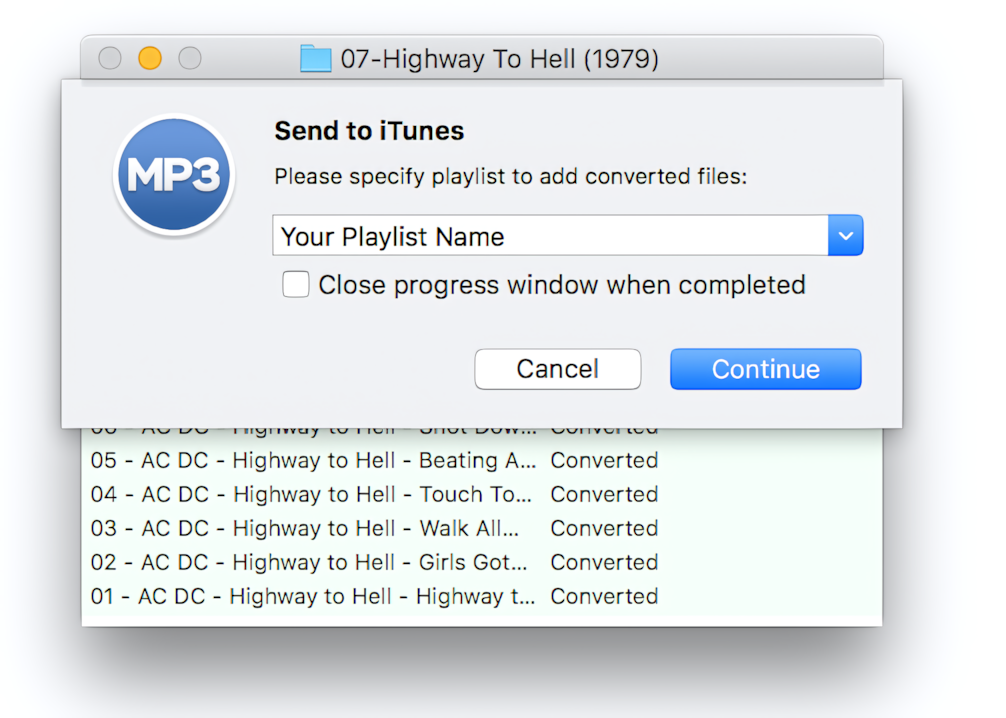
The feature allows exporting songs to iTunes playlists straight after conversion.
Click the "Send to iTunes" link in the Progress Window to export the converted files to iTunes. A dialogue window appears where you can specify the name of the playlist. Press the Continue button to complete the export.
Opening converted files in Tag Editor
Click on the link "Edit Tags" to open converted files in the Tag Editor. Tag Editor makes your playlists flawless. As a handy spreadsheet, it provides a convenient way to batch edit and clean up tags, load tags from network services, and rename files.
