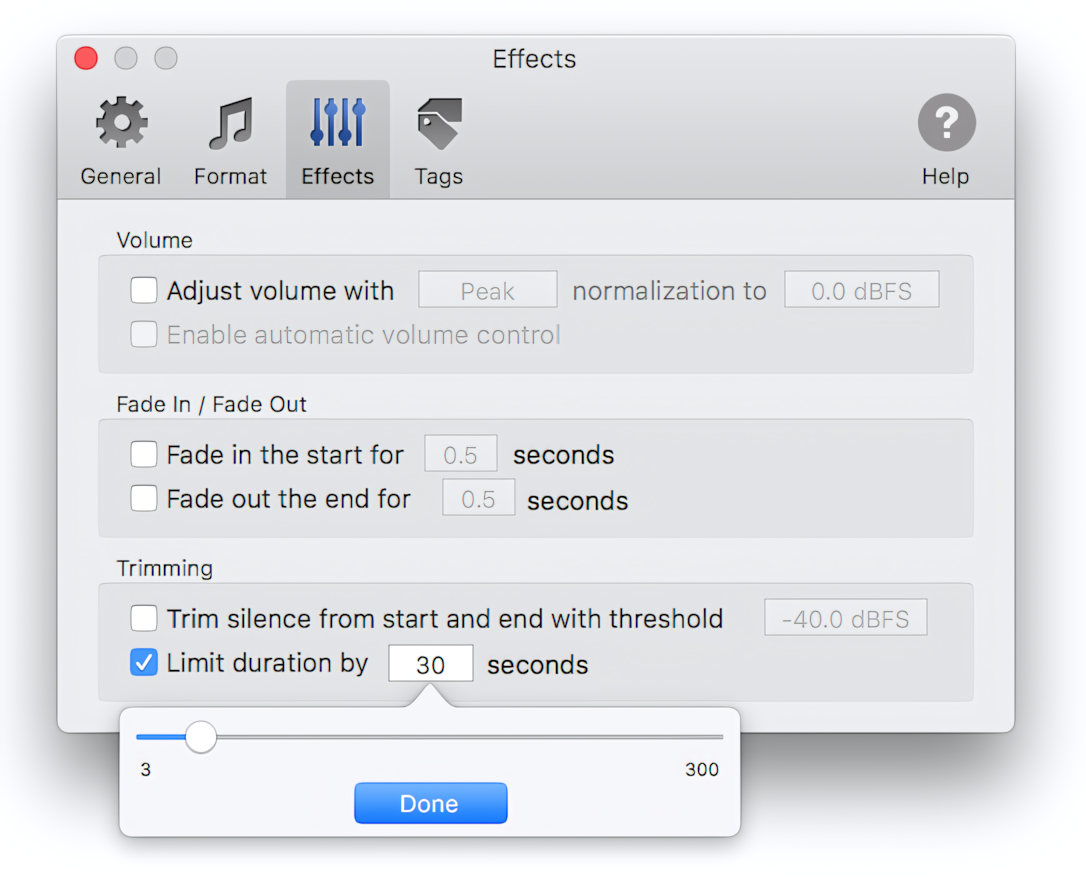
Effects Preferences allow you to customize audio effects applied to encoded audio. Volume adjusting, Fade-in, and Fade-out, Trimming of silence, and Limiting of duration can be managed in the Effects Preferences tab.
To open the Effects Preferences tab, choose Converter > Preferences > Effects.
- Loudness (EBU R128) Normalization
- Peak Normalization
- Automatic Volume Control
- Fade-in / Fade-out
- Trim Silence
- Limit Duration
Loudness (EBU R128) Normalization
Loudness (R128) Normalization is useful when you need to equalize the Perceived Loudness of all files in your audio collection to the same Target Level.
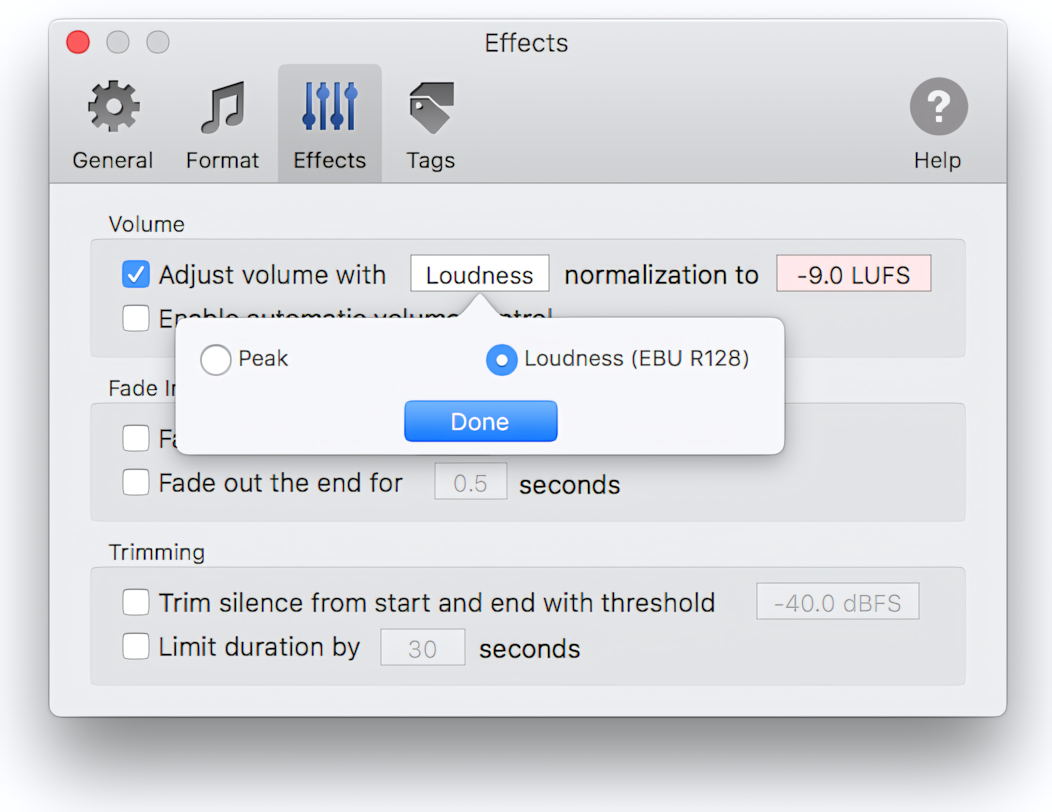
Check the "Adjust volume ..." option to adjust the volume of converted audio with peak or Loudness Normalization.
Click the "Peak" button to change the Normalization Method to "Loudness" if it is not already selected.
Read More: Loudness (EBU R128) Normalization >>
Target Level of Loudness Normalization
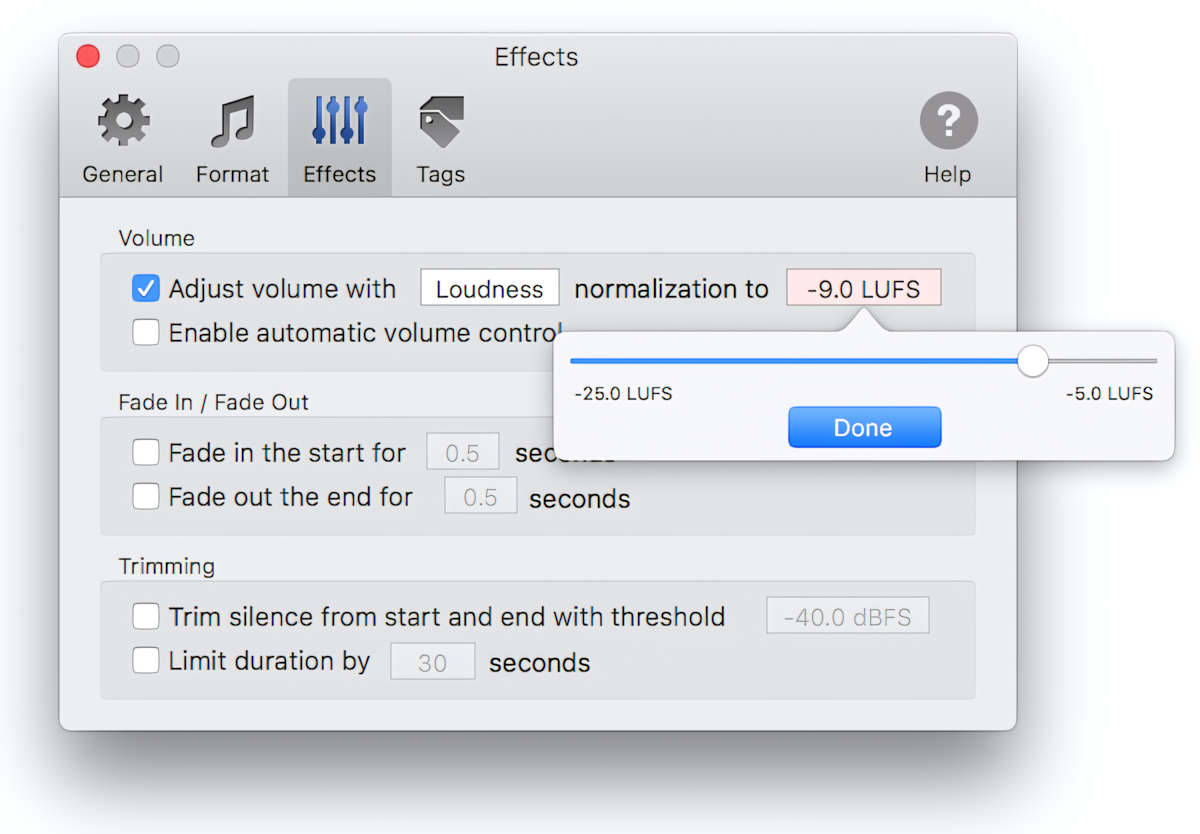
Press the "...LUFS" button to select the target level of Loudness Normalization, expressed in LUFS (Loudness Units relative to Full Scale). Please note that a Target Level that is too high can result in peaks that exceed the audio format limits. Dynamic range compression is applied in such cases to prevent clipping. In normal circumstances, the recommended value for Target Level should be between -23 LUFS and -10 LUFS.
Read More: Loudness (EBU R128) Normalization >>
Peak Normalization
With Peak normalization, the gain is changed to bring the highest signal peak to a target level. Peak normalization is used to adjust the volume to ensure optimal use of the audio format in the mastering stage of a recording.
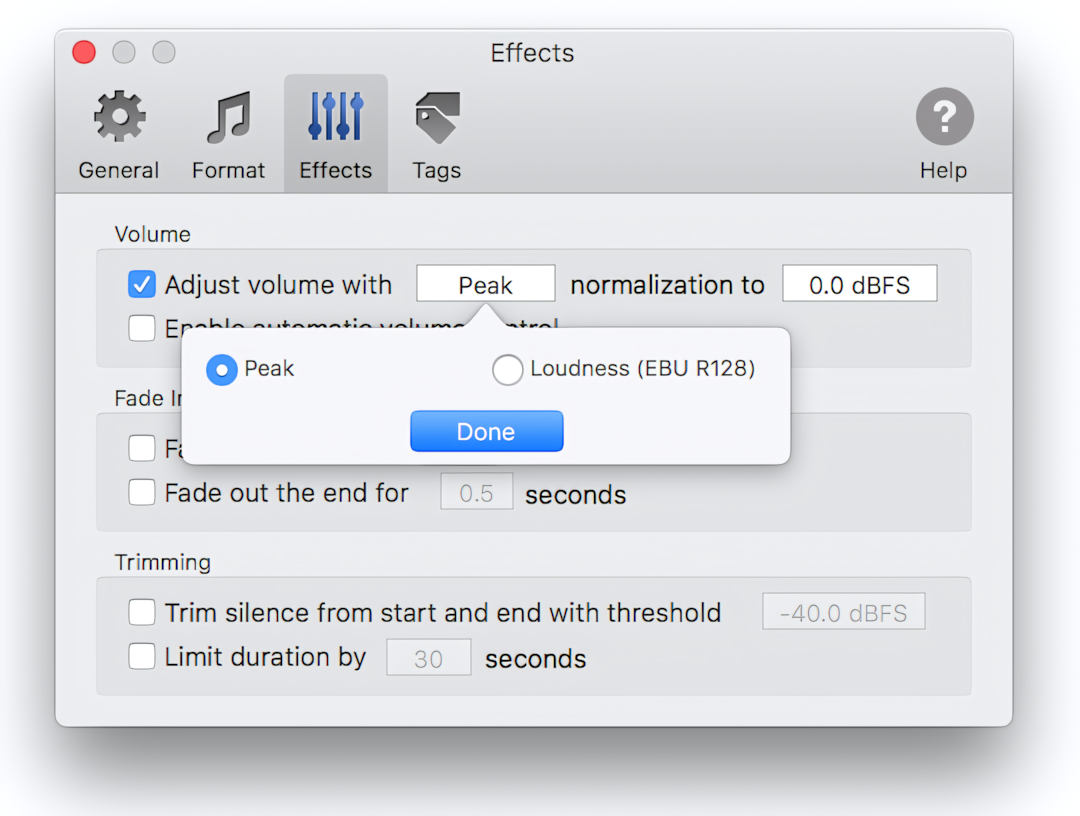
To normalize the volume of converted files using the Peak method, check the "Adjust volume ..." option in the Effects tab and choose "Peak" in the dialogue window if it is not selected yet. To open the dialogue window, click on the "Loudness" button.
Read More: Peak Normalization >>
Target Level of Peak Normalization
Press the "...dBFS" button to select the Target Level of normalization, expressed in dBFS (Decibels relative to Full Scale). 0.0 dBFS is assigned to the maximum possible digital level.
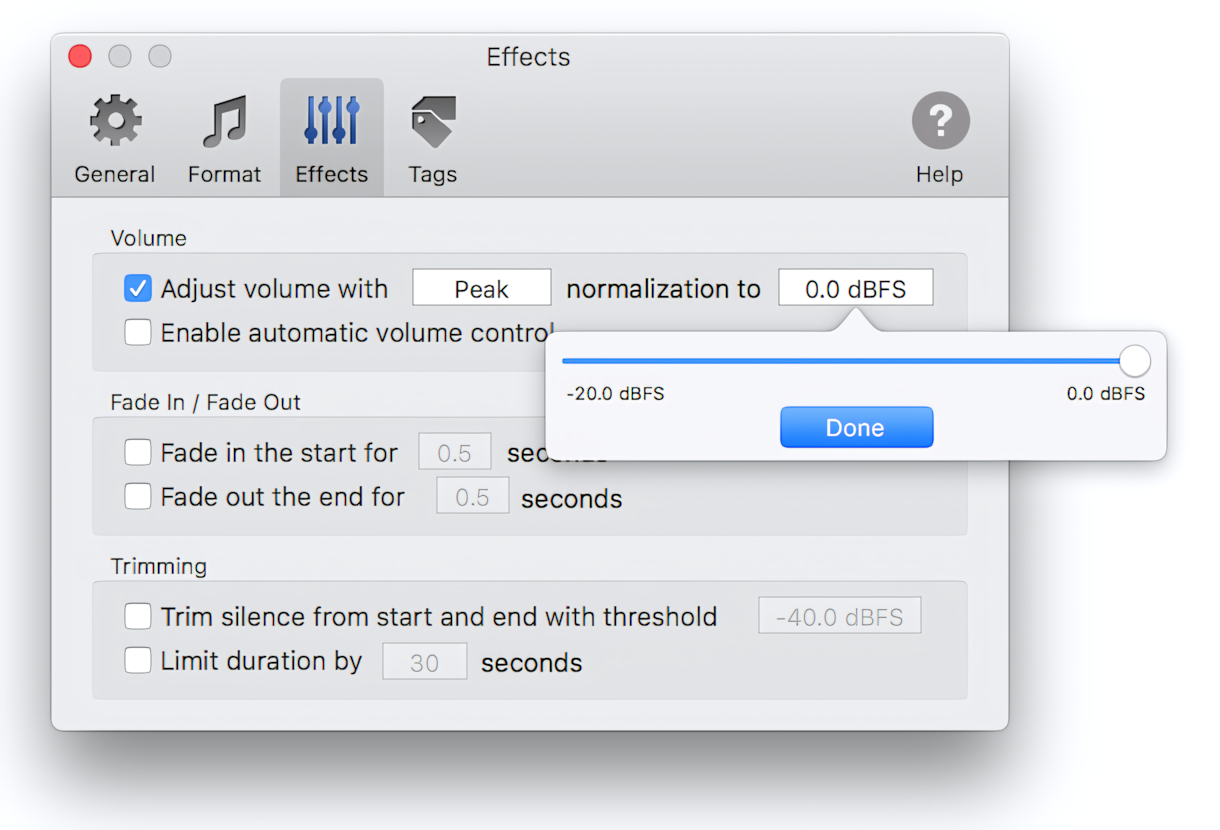
Read More: Peak Normalization >>
Automatic Volume Control
Check the "Enable automatic volume control" option to increase the level of the too quiet parts of audio files.
Automatic Volume Control is an excellent addition to the normalization of audio with too loud and too soft parts, peaks, and clicks, including podcasts, interviews, and voice recordings.
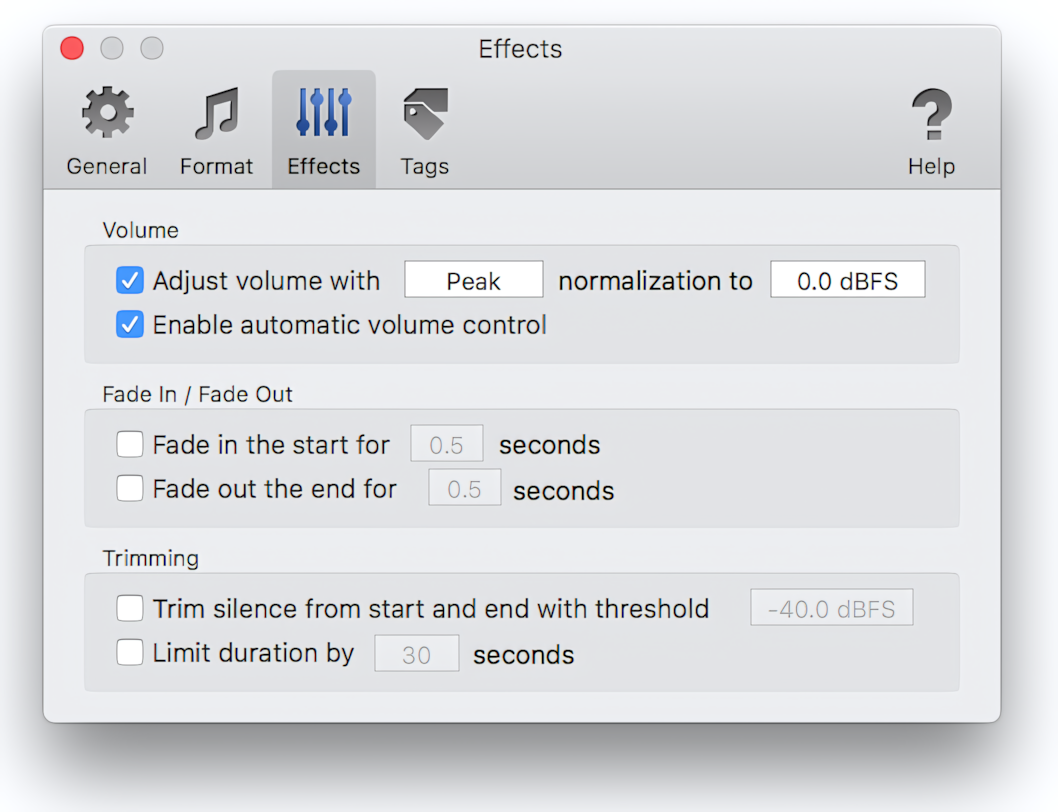
Read More: Automatic Volume Control >>
Fade-in and Fade-out
Select the "Fade in ..." option to gradually increase the volume of the converted audio from silence at the beginning.
Select the "Fade out ..." option to have the volume of the converted audio gradually decrease to silence at the end.
Click on the Seconds button to change the length of the Fade In or Fade Out effect.
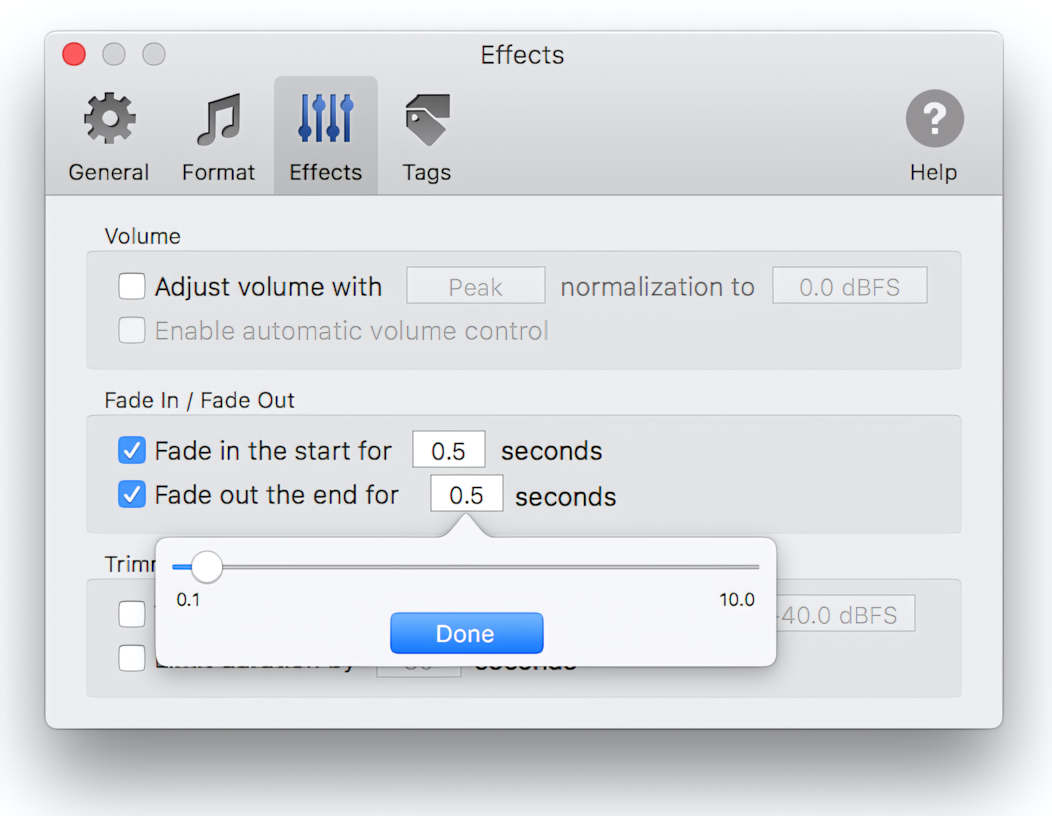
Read More: Fade In and Fade Out Effects >>
Trim Silence
Check the "Trim Silence ..." option to trim silence at the start and the end of the converted audio. We recommend using the Trim Silence option together with volume adjusting or normalization. Otherwise, quiet audio of low level can be unexpectedly truncated.
Click on the "...dBFS" button to change the Silence Threshold. Audio below this level will be considered as silence.
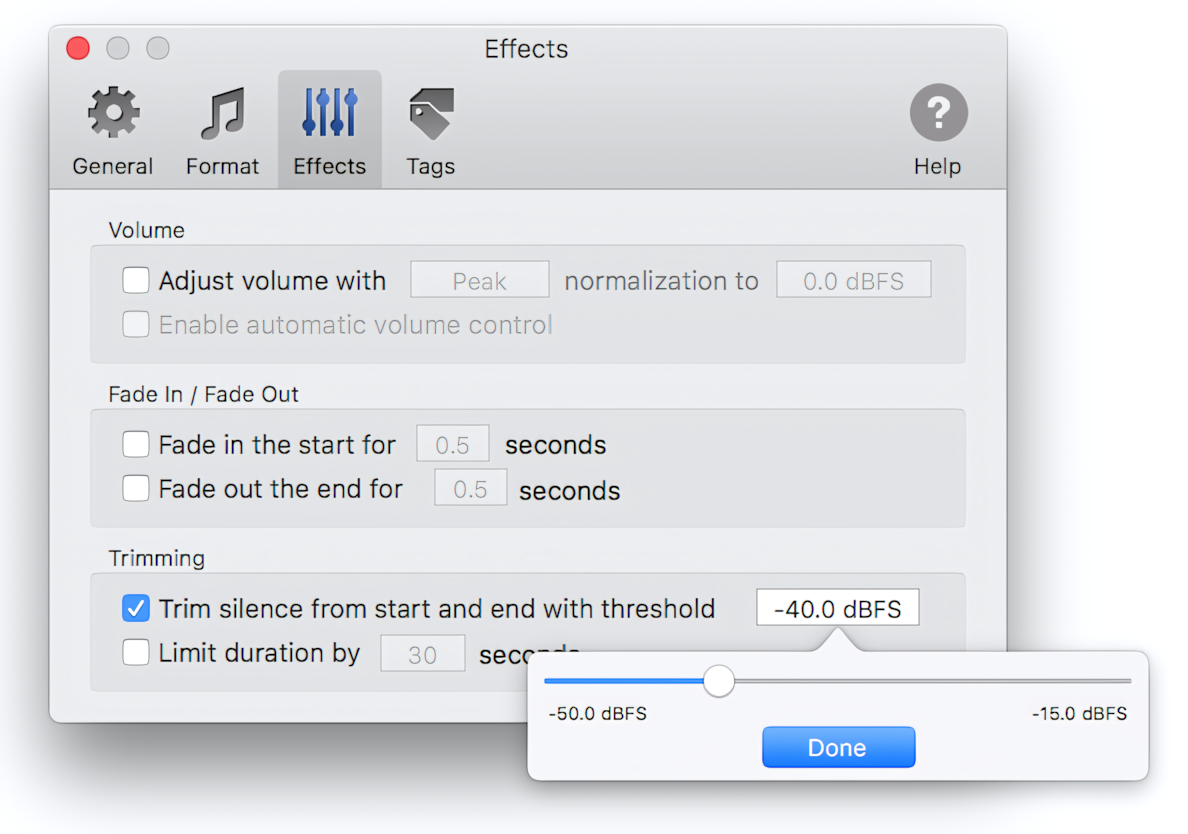
Limit Duration
Check the "Limit duration ..." option to limit the length of converted audio. We recommend using the "Limit Duration" option to check if conversion results are as expected quickly.
Click on the Seconds button to change the maximum duration of converted audio.
