



Install To WAV Converter, check its settings and the destination folder once, and every conversion after that takes one drag and drop: whole folders of MP3, M4A, FLAC, WMA, and video files become WAV or AIFF files, with their tags, in the folder you chose.
- Installation
- First application start
- Checking Settings
- Checking Destination Folder
- Starting Conversion
- Conversion Process
- Opening converted files in Finder
- Exporting converted files to Music
- Opening converted files in Tag Editor
- Free Version
- Premium Features
Installation
Get To WAV Converter 2 for free from the Mac App Store, which installs it for you, or download the native version, an installation package with a DMG extension.
Open the DMG file and drag the To WAV Converter 2 icon into the Applications folder to install it on your Mac.
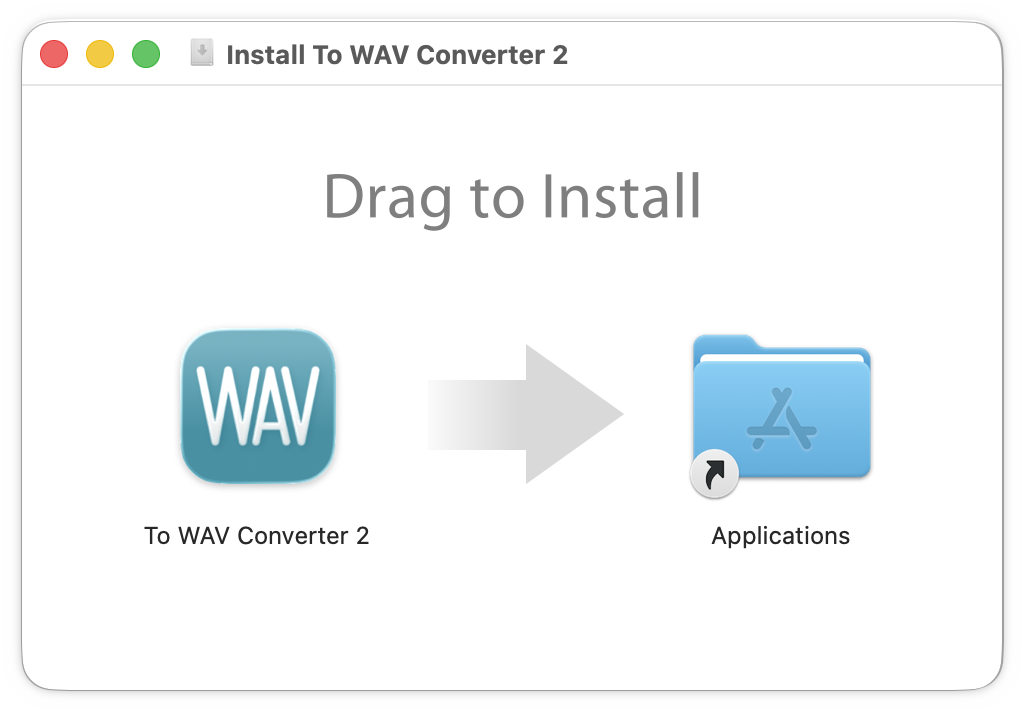
Installation package of To WAV Converter 2
Read More: Download To WAV Converter for Mac >>
First application start
Open the installed converter. When you start the native version for the first time, macOS may ask whether you want to open an app downloaded from the Internet. The message is shown only once for a newly installed app: press Open to launch the converter.
Checking Settings
Before the first conversion, check the settings: choose Settings... in the gear menu of the main window, or press ⌘,. The first time, the Settings window opens on the Format tab, where you choose the output format: WAV (Waveform Audio) or AIFF (Audio Interchange File Format).

To WAV Converter - Settings / Format
If you have no special needs for the WAV Codec, Sample Rate, or Channels, leave the defaults 'Automatic Selection' and 'As Source'. The converter then picks a PCM codec that matches the bit depth of every source file and keeps its sample rate and channels, so the sound is not resampled or remixed.
You might also check the General, Effects, or Tags tabs and set up the conversion to your needs.
For example, when you convert a music collection, you may want to choose Loudness (EBU R128) normalization, which evens out the volume of the tracks, so you won't need to adjust the volume from song to song when listening.
When you convert speech, enable Automatic Volume Control with Peak normalization to make recordings, podcasts, and voice memos clearer.
One more example is the CUE Splitter: 'Accept CUE sheets and split related files' in the General tab, which is on by default.
Read More: Preferences / WAV Format >>
Read More: Preferences / AIFF Format >>
Read More: Preferences / General >>
Read More: Audio Effects and Volume Adjusting on macOS >>
Read More: Automatic Volume Control >>
Read More: Peak and Loudness (EBU R128) Normalization on Mac >>
Read More: Trimming Silence and Noise Automatically >>
Read More: Fade-In & Fade-Out Audio Effects >>
Read More: Preferences / Tags >>
Checking Destination Folder
Next, choose where your converted files are stored. By default, they go to the To WAV Converter 2 folder in your Music folder. Click Destination: to select another folder if the default one does not suit you.
You may also choose 'As Source Folder' in the menu next to it, which is handy when converting single files: the converted files are then placed in the same folder as their source files.
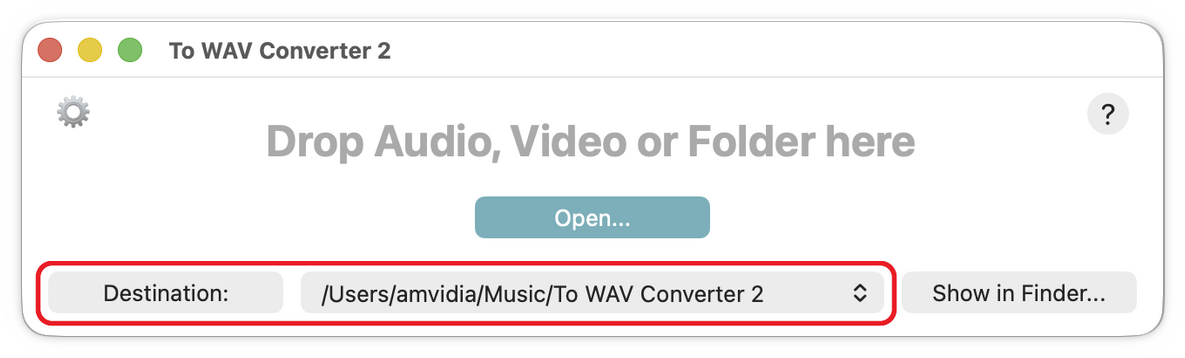
Setting up the Destination Folder
Starting Conversion
You can start a conversion in several ways:
- Drop audio or video files on the application's icon, whether the converter is running or not.
- Drop audio or video files into the main application window.
- Drop audio or video files into the Progress Window.
- Press the Open... button in the main application window and select files or folders to convert.
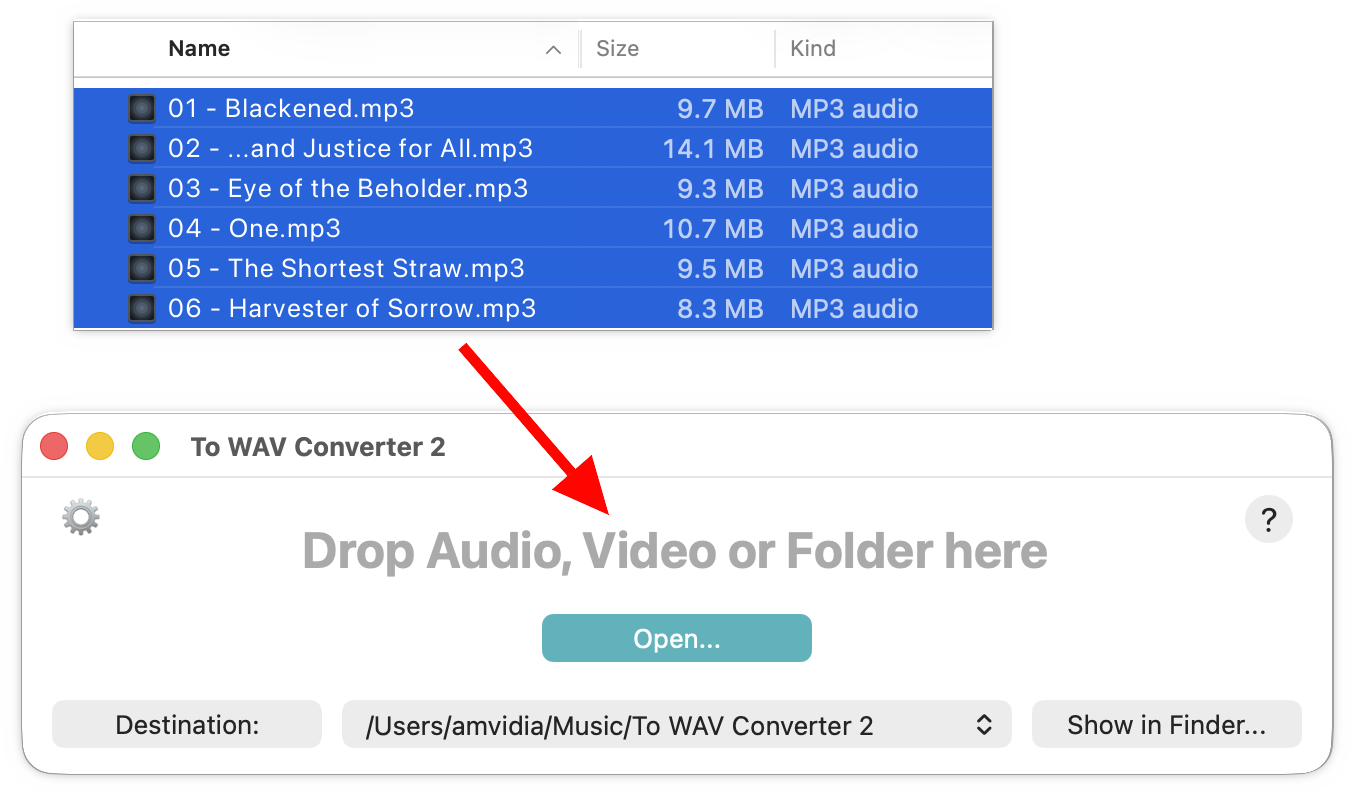
Dropping MP3 files into To WAV Converter
You can add a single file, many files, or a whole branch of folders. By default, the converter rebuilds the structure of the source folders in the destination folder.
You can also start a new conversion while another one is running. Don't wait until the previous conversion is finished: drop files and folders into the converter whenever you need to, and each drop gets its own Progress Window.
Read More: Improving Drag & Drop Experience >>
Read More: Input Formats >>
Conversion Process
Once the conversion starts, the Progress Window shows the time left and the status of every file, even when you convert thousands of them.
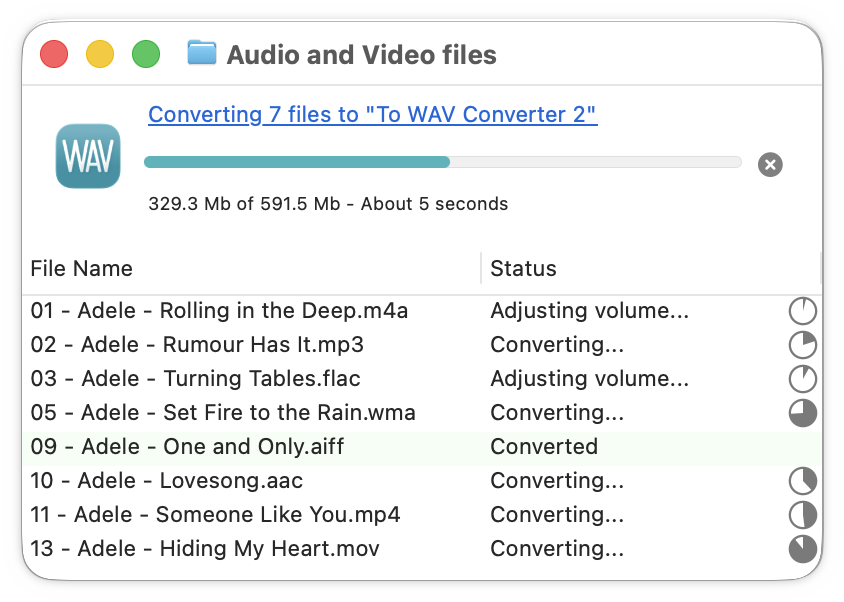
To WAV Converter - Progress Window
By default, the converter does these tasks during conversion:
- Picks the WAV codec, sample rate, and channels of every output file from its source file.
- Adjusts the volume of tracks with Peak normalization to 0.0 dBFS.
- Accepts CUE sheets and splits the related FLAC or WAV files into tracks.
- Transfers tags from the source files into the ID3v2.4 and Info tags of WAV files.
- Rebuilds the structure of the source folders in the destination folder.
Each task can be set up in the Settings window.
Opening converted files in Finder
After conversion, the top link of the Progress Window shows how many files were converted. Click it to open the converted files in Finder; they are in the folder set as the Destination in the main window.
The converter can also open them in Finder by itself: enable 'Show converted files in Finder' in Settings / General / Completion.
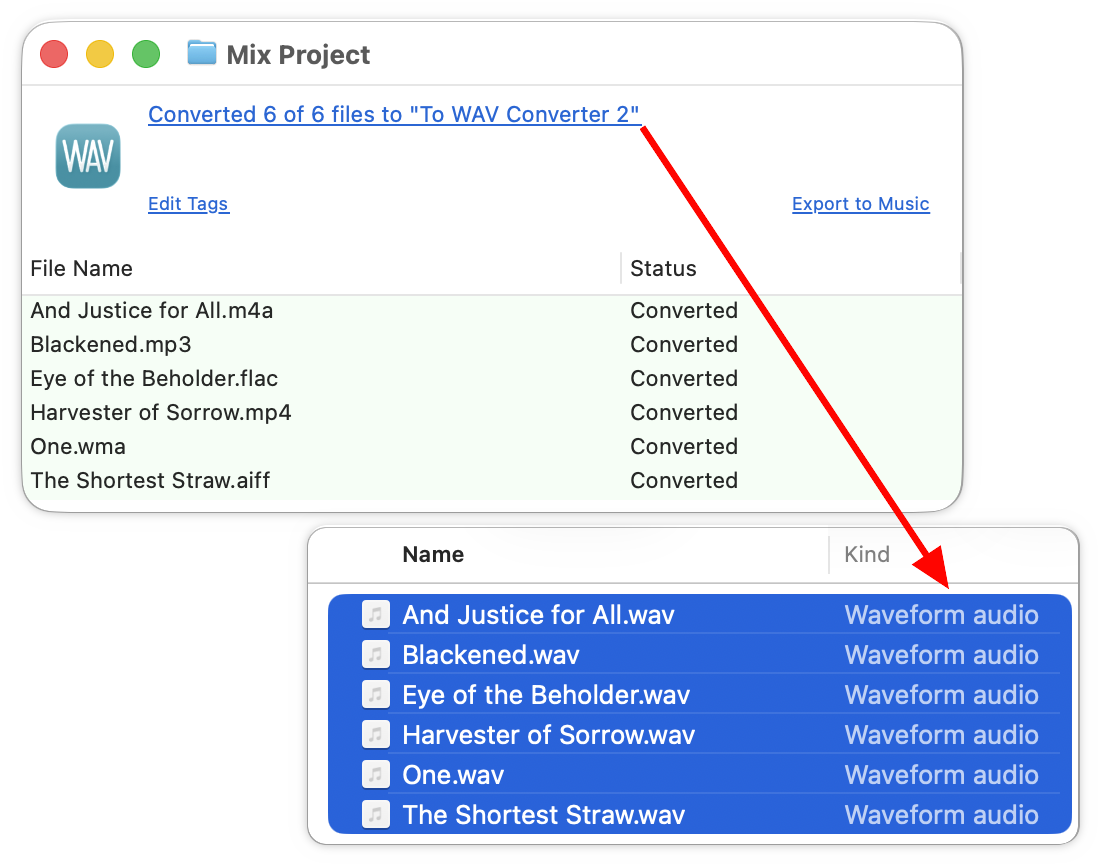
To WAV Converter - Progress Window after conversion
Exporting converted files to Music
Add the converted songs to a Music playlist straight after conversion: click Export to Music in the Progress Window, enter the name of the playlist, and press Continue.
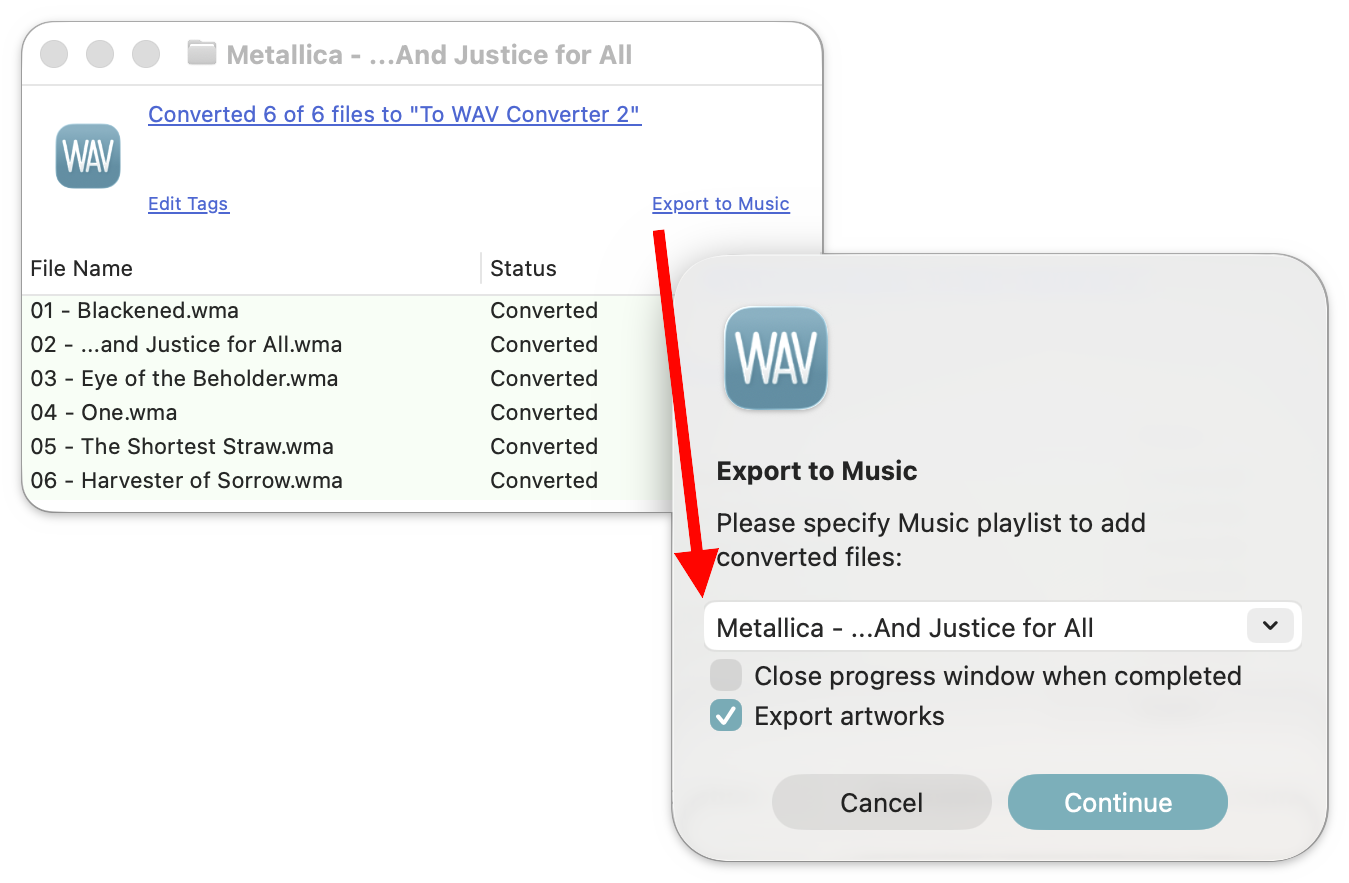
To WAV Converter - Progress Window - Exporting to Music
Opening converted files in Tag Editor
With Tag Editor installed, click Edit Tags in the Progress Window to open the converted files in it, or enable 'Launch Tag Editor after conversion' in Settings / Tags. Tag Editor makes your playlists flawless: as a handy spreadsheet, it lets you batch edit and clean up tags, load tags from online databases, and rename files.
Free Version
To WAV Converter costs nothing to download, and its Premium features are on when you first start it: batch conversion, audio effects, and the tag download work right away, so you can turn your own MP3, M4A, FLAC, or video files into WAV and judge the result before you pay. Without Premium, the converter stays free with no time limit and converts one file at a time, with everything a clean WAV or AIFF file needs: every codec, sample rate, and channel setting, 'Automatic Selection' that matches the bit depth of the source, Peak normalization to 0.0 dBFS, and tags such as Artist, Title, and Artwork written into the ID3v2.4 and Info tags.
Premium Features
Premium is made for whole music collections and sample libraries: Batch Conversion turns thousands of MP3, FLAC, M4A, and WMA files and folders into WAV in one drop and keeps their folder structure; the CUE Splitter cuts a FLAC or WAV album into separate tracks by its CUE sheet; Loudness (EBU R128) normalization, Automatic Volume Control, fades, and silence trimming even out the volume and remove dead air; the Metadata Downloader finds missing titles, artists, and album covers in online databases such as MusicBrainz and AcoustID; the Tag Stripper makes WAV files without metadata; and the converted files go to Music playlists or open in Finder with one click.